Dreading your storage unit cleanout this weekend? We get it. Cleanouts are associated with chaos and stress, especially if you haven’t cleaned out your unit in a while. To help you out, we’re sharing our best tips to make your storage unit cleanout as EZ as possible.
 Take a rough inventory of your boxes so you can determine how much work you have ahead of you.
Get in the Right Mindset & Take Inventory
A storage unit cleanout is an overwhelming and stressful job. But it’s important to get into the right headspace so you don’t psych yourself out before you’ve even begun. Focus on the feelings of confidence and relief that will come from completing the cleanout as that will create a positive perspective towards doing the work.
With positivity in mind, you can get started on the first step of the cleanout: taking inventory. Take a notepad and a pen and write down all the larger items in your unit, as well as how many boxes there are. After that, open as many boxes as you can and scan their contents, jotting down what you see. Having a rough inventory before you sort will help you decide just how long it’ll take to get through your unit.
Sort Away
Diving headfirst into sorting can quickly stress you out, especially if you don’t have a strategy. Go in with a game plan and while you’re sorting, place each item into one of five categories. These categories are:
- The Keep category: for things you want to keep and take home with you.
- The Donate/Sell category: stuff you don’t want or need, but is still in good condition.
- The Store category: the items you want to keep but need to have in storage.
- The Wait-and-See category: you’re not quite sure about getting rid of these items, so they’ll go in this category and during the next cleanout, they’ll be reviewed again.
- The Toss category: for anything broken and can’t be repaired that needs to be thrown out, as well as any trash.
Keep it Small
Instead of trying to tackle your whole unit at once, try a different approach. Breaking your unit down into small chunks to organize will help get you through your cleanout faster. Pick a section that is 2’x 2’ and finish it before you move onto the next 2’x 2’ area.
Deep Clean Your Unit
After organizing, it’s time to actually deep clean your unit. Dirt, debris, tiny crumbs, and trash can collect in your unit without you noticing, so it’s important to sanitize every once in a while.
Get a moving dolly and move out your categories of items. Then, get in there and sweep out your unit as well as wipe it down with a sanitizing cleaner. If some boxes or items will be staying in your unit, dust those down as well so they stay fresh while they continue to sit in storage.
Time to Pack Everything Away
You’re almost done! Now you just have to do the final step of packing everything away and putting it where it needs to be.
For stuff you’re donating, pack your vehicle up and drive over to your local donation center or thrift store. The items you put in your “keep” pile will be coming on home with you, so load your vehicle up and bring them home. Any remaining items will be staying put in your newly cleaned-out unit. Last but not least, don’t forget to take the “toss it” pile and haul it away to the dumpster.
EZ Access Storage is here to help you with all your storage needs.
Making Storage Unit Cleanouts EZ
A storage unit cleanout isn’t a small task, but with these tips, it’ll hopefully make it much easier for you. EZ Access Storage is always here to make your storage experience as EZ as possible.
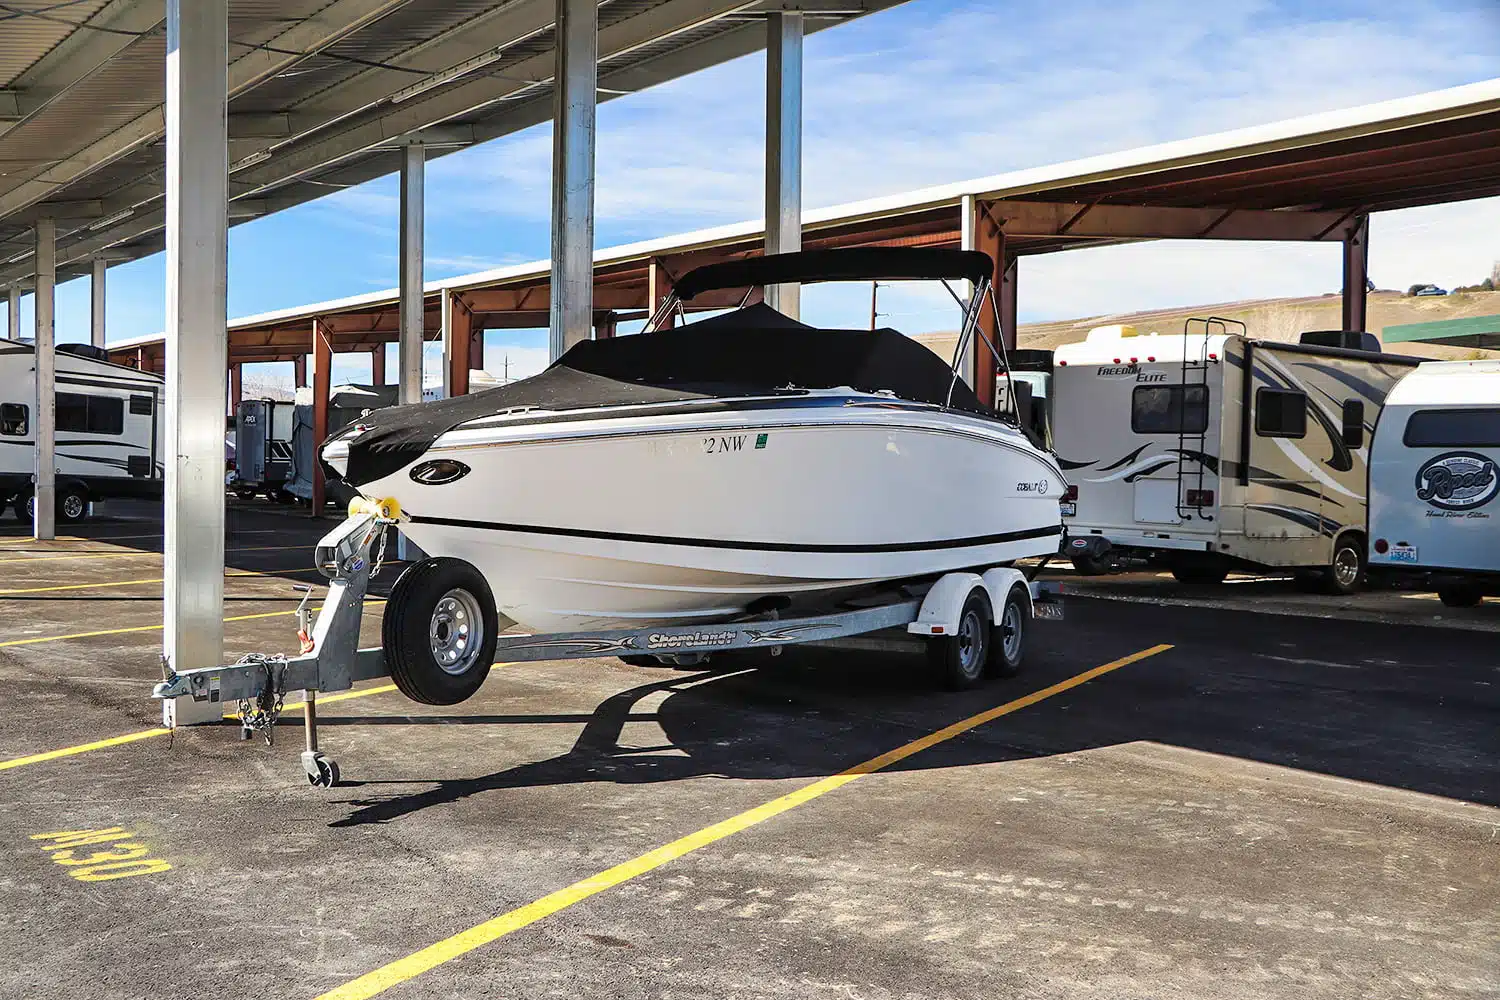
If you’re looking for a self-storage unit in East Wenatchee, EZ Access Storage is your go-to storage provider. We have a wide variety of options available so we’ve got all your storage needs covered.
Looking for Secure Storage Solutions?
From household items to vehicle storage, EZ Access Storage has you covered with clean, spacious, and reliable units and parking rentals to keep your belongings safe. Make sure to check out our Promotions page first to see what current savings are available!